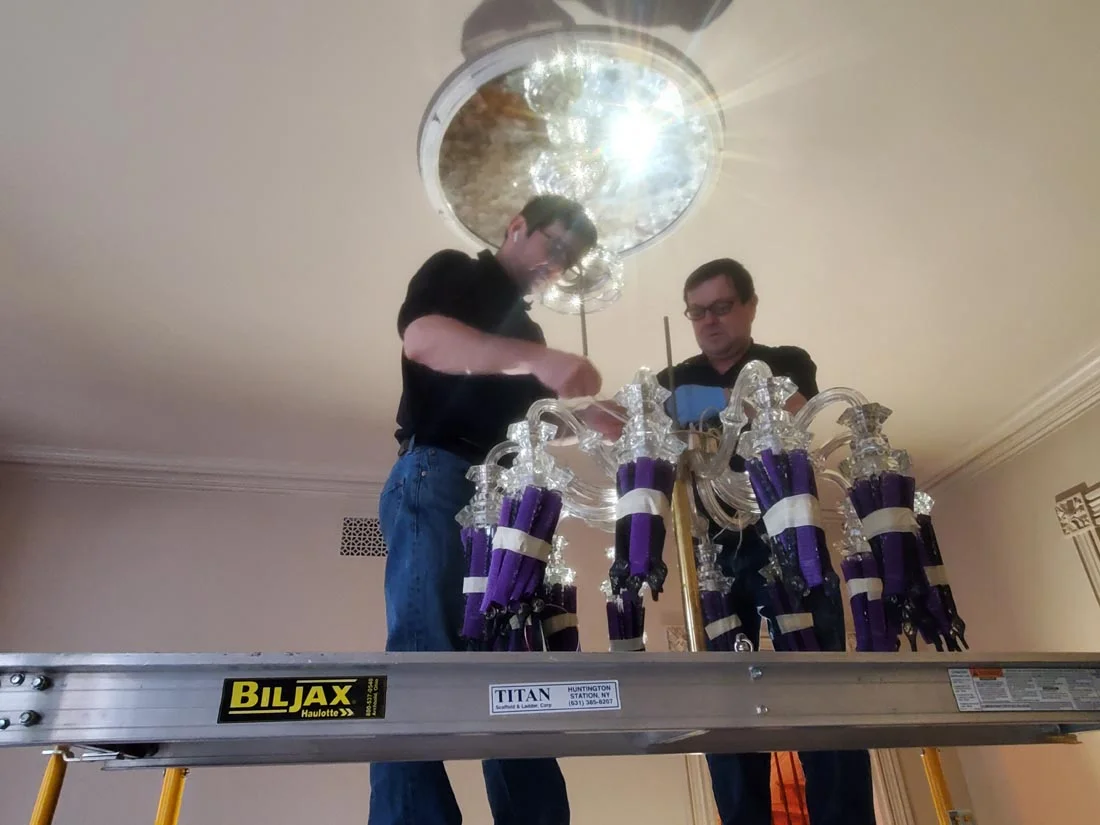
Does My Chandelier Need Re-Wiring?
Here are 3 Signs of Faulty Chandelier Wiring
If you have an older chandelier, it might be time to consider re-wiring it. In this guide, we’ll explore how to tell if the wiring needs to be replaced and when it’s best to call a professional electrician. While the idea of re-wiring may seem daunting, it doesn’t have to be. In fact, giving your chandelier updated wiring can be a simple way to restore its charm and extend its life.
Three common signs of faulty chandelier wiring are:
- Light is dimmer than normal.
- On and off flickering of lights.
- Bulb replacement occurring more often.
Of course, there are other signs of bad or faulty wiring, which includes, burning odors, buzzing or humming sounds, or the fixture is warm to the touch. A chandelier is a centerpiece that adds a unique charm to any room it is placed in. When properly cared for, chandeliers last longer than most other light fixtures, but loose, corroded, or broken wires can turn a chandelier into more of a nuisance if not a danger.

What to Do When Your Chandelier Needs Re-Wiring
5 Steps for General Chandelier Rewiring
If your chandelier needs rewiring, then a professional needs to be brought into the fold. This is intricate work that no amateur should attempt.
1) Turn Off Circuit
Head to your electrical panel and locate the breaker that controls the chandelier’s circuit. Flip the switch to the “off” position. Then, use a circuit tester at the fixture to confirm the power is off. If the tester still shows live current, double-check that you’ve turned off the correct breaker.
2) Loosen Fixture
Carefully loosen the rounded base or any part securing the chandelier to the ceiling, and slide it down toward the bottom hub. You should see three wires: a bare copper ground wire, a white neutral (or earth) wire, and a yellow hot wire. While supporting the chandelier, remove any wire connectors and peel away electrical tape if it’s present. Never let the fixture hang by the wires, as this can cause damage and potentially lead to further electrical repairs.

3) Unscrew the Chandelier
Loosen the chandelier and remove it from its mounting. For newer fixtures, the chandelier is attached by an electrical box to the ceiling with a mounting strap. Pull the wires through each arm of the chandelier, measure the length of each wire, and add 1″ accounting for wire stripping, which is done later.
4) Disconnect the Wiring
Depending on the type of chandelier, the wiring will be exposed once the dome is removed or it may be contained under a cap. It is imperative to follow the owner’s manual or method and configuration of your chandelier for the exact procedure for removing exposed wires. Remove the wires and socket housings.
5) Install New Wiring
Trim each lamp wire to the appropriate length and thread it through the corresponding arm of the chandelier. Strip about ½ inch of insulation from the end to expose the wire. Separate the strands, grouping the neutral wires together and the live wires together. Twist each group of wires clockwise, then secure them with a wire connector, ensuring all strands are fully enclosed inside.

Completing the Chandelier Rewiring Project
Attach the neutral wire to the silver screw on the new socket and the hot wire to the brass screw. Wrap each wire clockwise around its corresponding screw before tightening to ensure a secure connection. Once connected, insert the socket into its housing and feed any remaining wire through the arm. Be sure to leave some excess wire gathered in the center of the fixture. There are two steps that must happen on the new socket to complete the chandelier rewiring project:
Group the Wires
Once all the arms of the chandelier are re-wired, the main wire at the top should split into the neutral and live wires leading to the bulbs. You will need a lamp cord rated to handle the total power of the chandelier’s bulbs. This is what will connect to the branch circuit for the fixture.
Reassemble the Fixture
After all the wiring is complete and the main wire has been threaded through the top of the chandelier, securely mount the fixture to the ceiling. Slide on the socket covers to conceal the sockets, then screw in the light bulbs. Restore power at the breaker, and your chandelier is ready to shine.

Contact Us for Chandelier Rewiring Services
At Londono Restoration, we provide UL-certified rewiring services that meet the highest standards of safety and quality. UL (Underwriters Laboratories) certification is a globally recognized symbol of electrical safety and compliance—essential for passing inspections and giving you complete peace of mind.
With more than 34 years of combined experience, our team has rewired chandeliers and light fixtures across a diverse range of environments, including private residences, hotels, restaurants, public schools, municipal buildings, and theaters across the country.
We take pride in our expert craftsmanship, treat each project as a learning opportunity, and are committed to delivering exceptional service from start to finish.


